We will add two buttons that zoom in or out respectively.
Before we go on with creating controls and buttons that manage these, we should have a place where the buttons should be rendered into. We’ll create a toolbar at the bottom of the Map to do so. Here is the code to create an empty toolbar:
var mapTb = Ext.create('Ext.Toolbar', {
    docked: 'bottom'
});
We’ll also create a wrapping Panel which will hold the map and the newly created toolbar, so that the toolbar is only visible, when the map is visible (but hidden, when the layerlist is shown).
var mapPanel = Ext.create('Ext.Panel', {
    title: 'Map', // the title config of the GXM.Map can now be removed
    layout: 'fit',
    items: [
        gxmMap,
        mapTb
    ]
});
We then need to change the component to be added to the viewport, of course:
var tabPanel = Ext.create('Ext.TabPanel', {
    items: [
        mapPanel, // and not the GXM.Map as before
        layerList
    ]
});
Your application should now look like the one below:
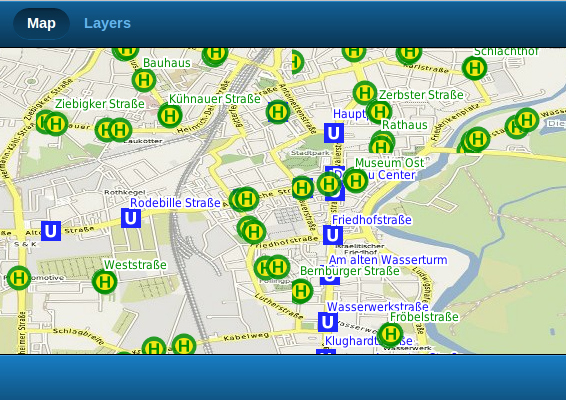
Our application with an empty Toolbar
Tasks
Now lets create an instance of a GXM.Button that zooms in when tapped:
var btnZoomIn = Ext.create('GXM.Button', {
    olControl : new OpenLayers.Control.ZoomIn(),
    olMap : gxmMap.getMap(),
    iconCls : 'arrow_down',
    iconMask : true
});
As you see, currently we need to have an instance of an OpenLayers.Map when we instanciate the button, so that the control knows on wich map it is going to operate.
Next, we need to add the button to the toolbar we created above:
var mapTb = Ext.create('Ext.Toolbar', {
    docked: 'bottom',
    items: [
        btnZoomIn
    ]
});
Tasks
With the above steps applied, your application now should like the one pictured below.

The toolbar now contains the functional button
In the next section we’ll add more sophisticated controls to the toolbar: redlining buttons.

