In OpenLayers, a map is a collection of layers and various controls for dealing with user interaction. A map is generated with three basic ingredients: markup, style declarations, and initialization code.
Let’s take a look at a fully working example of an OpenLayers map.
<html>
    <head>
        <title>My Map</title>
        <link rel="stylesheet" href="openlayers/theme/default/style.css" type="text/css">
        <style>
            #map-id {
                width: 512px;
                height: 256px;
            }
        </style>
        <script src="openlayers/lib/OpenLayers.js"></script>
    </head>
    <body>
        <h1>My Map</h1>
        <div id="map-id"></div>
        <script>
            var map = new OpenLayers.Map("map-id");
            var imagery = new OpenLayers.Layer.WMS(
                "Global Imagery",
                "http://maps.opengeo.org/geowebcache/service/wms",
                {layers: "bluemarble"}
            );
            map.addLayer(imagery);
            map.zoomToMaxExtent();
        </script>
    </body>
</html>
Tasks
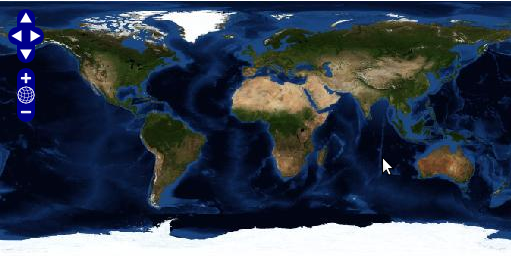
A working map of displaying imagery of the world.
Having successfully created our first map, we’ll continue by looking more closely at the parts.

