In GXM, following the conventions of the underlying Sencha Touch framework, a map is wrapped into an Ext.Component. The map is an OpenLayers.Map object.
It is important to understand that Sencha Touch encourages a web application paradigm, as opposed to a web page paradigm. This means that we won’t create markup, so the basic ingredients of our application will be:
- a minimal html document to include JavaScript and CSS resources,
- JavaScript code for application initialization,
- JavaScript code that builds the user interface,
- “Glue” JavaScript code that makes the pieces work together. We don’t have any in this basic example, so we will be learning about it later.
Let’s take a look at a fully working example of a simple GXM application:
<!DOCTYPE html>
<html>
<head>
<meta http-equiv="Content-Type" content="text/html; charset=utf-8">
<title>GXM: Examples of the GXM.Map-class</title>
<meta name="viewport"
content="width=device-width, user-scalable=no, initial-scale=1.0, maximum-scale=1.0">
<meta name="apple-mobile-web-app-capable"
content="yes">
<!-- The CSS of Sencha Touch and GXM -->
<link rel="stylesheet" type="text/css"
href="../sencha-touch/resources/css/sencha-touch.css">
<link rel="stylesheet" type="text/css"
href="../openlayers/theme/default/style.tidy.css">
<link rel="stylesheet" type="text/css"
href="../gxm/resources/css/gxm.css">
<!-- Prettify the attribution of the layer -->
<style type="text/css">
.olControlAttribution {
position : absolute !important;
font-size : 10px !important;
bottom : 0 !important;
right : 0 !important;
background : rgba(0,0,0,0.1) !important;
font-family : Arial !important;
padding : 2px 4px !important;
border-radius : 5px 0 0 0 !important;
}
</style>
<!-- Load Sencha Touch -->
<script type="text/javascript"
src="../sencha-touch/builds/sencha-touch-all.js"></script>
<!-- Load OpenLayers -->
<script type="text/javascript"
src="../openlayers/lib/OpenLayers.js"></script>
<!-- This file loads all relevant files -->
<script type="text/javascript"
src="../gxm/lib/GXM.loader.js"></script>
<script type="text/javascript">
// global variable to debug:
var gxmMap; // will old the GXM.Map instance
// create an OpenLayers WMS layer to be shown on the map
var layerOwsOsmTerrestris = new OpenLayers.Layer.WMS(
'terrestris OSM WMS',
'http://ows.terrestris.de/osm-basemap/service', {
layers : 'OSM-WMS-Deutschland'
}, {
attribution : '© terrestris GmbH & Co. KG, ' +
'Data © OpenStreetMap contributors, CC-BY-SA'
}
);
Ext.setup({
viewport : {
// hide the addressbar of the device
autoMaximize : true
},
// A function to be called when the application is ready.
// Our application logic will be put here
onReady :function() {
gxmMap = Ext.create('GXM.Map', {
mapCenter : [10.15, 51.34],
mapZoom: 6,
layers: [
layerOwsOsmTerrestris
]
});
Ext.Viewport.add(
gxmMap
);
}
});
</script>
</head>
<body>
</body>
</html>
Tasks
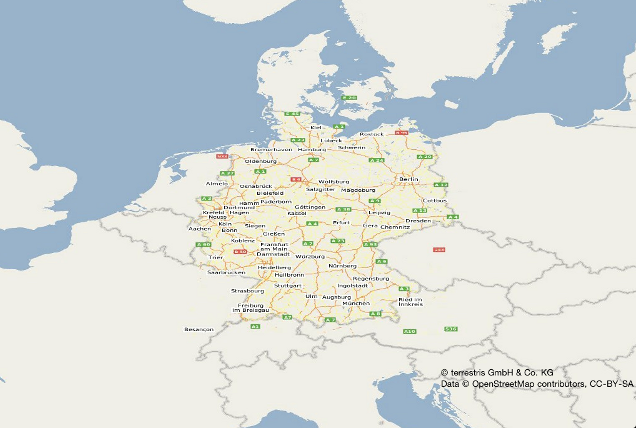
A working map displaying Germany.
Having successfully created our first GXM application, we’ll continue by looking more closely at the parts.

